Create your first live AWS diagram
Cloudcraft allows you to easily import your AWS cloud environment as live diagrams. By reverse-engineering the architecture in your AWS account, Cloudcraft can autogenerate new diagrams or enhance existing ones, saving you hours or even days of work.
If you would like to get a full tour of Cloudcraft and all its features, you can book an online demo with a member of our team.
Your first live diagram
Start by creating a new blueprint, where we will be importing your cloud architecture.
A blueprint contains your diagram, a budget, and all the documentation you attach to individual components and the diagram itself.
First things first, you need to connect your AWS account. Go ahead and do that by following the help article below:
Connected? Perfect!
Click on the Live tab, which is where you can choose the account you just added, scan AWS regions, generate automatic layouts, and view all resources in your AWS account.
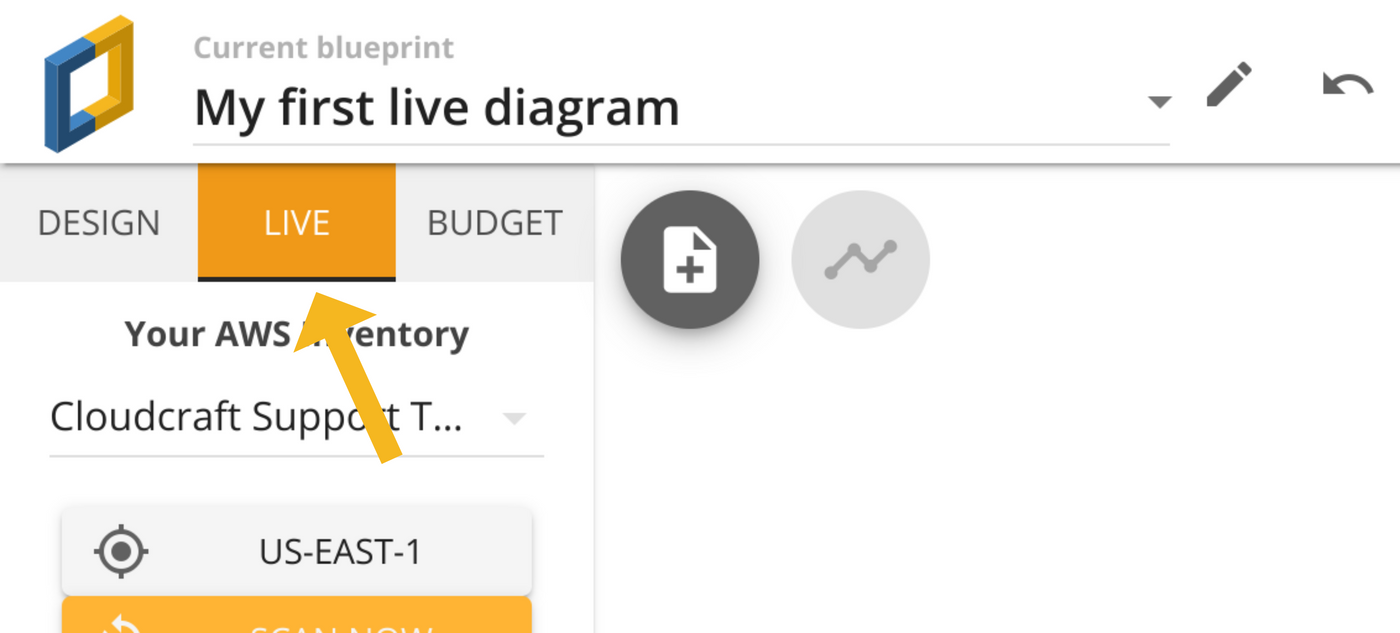
If you only added one AWS account to Cloudcraft, it will be automatically selected for you, otherwise, select the account you want from the dropdown.
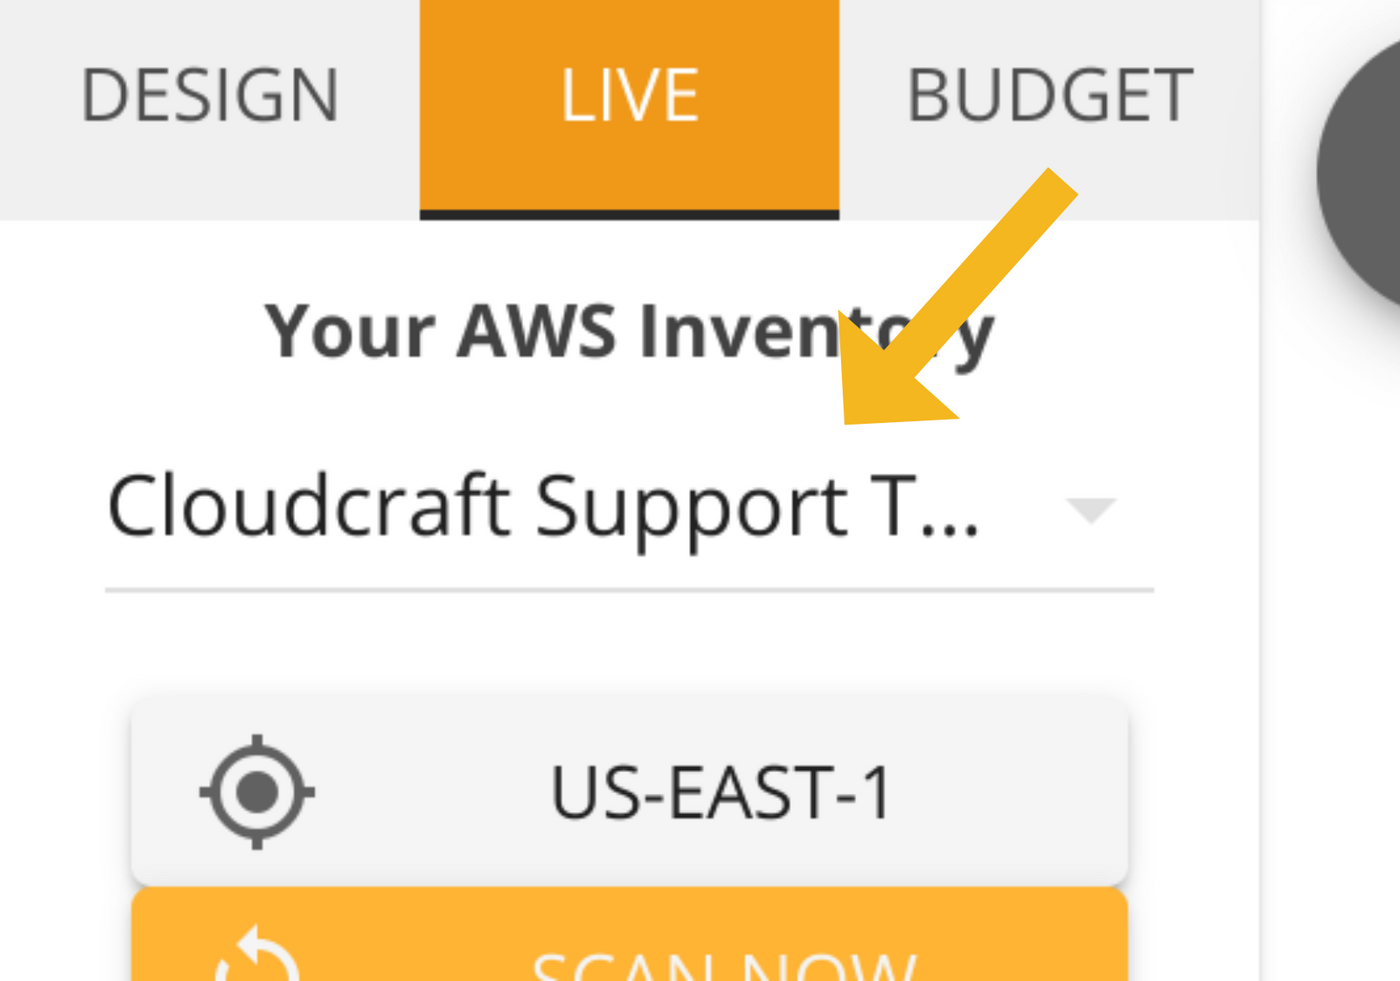
Now, select the region you want to scan. You can scan and add multiple regions into a single diagram, but for now, just pick one.
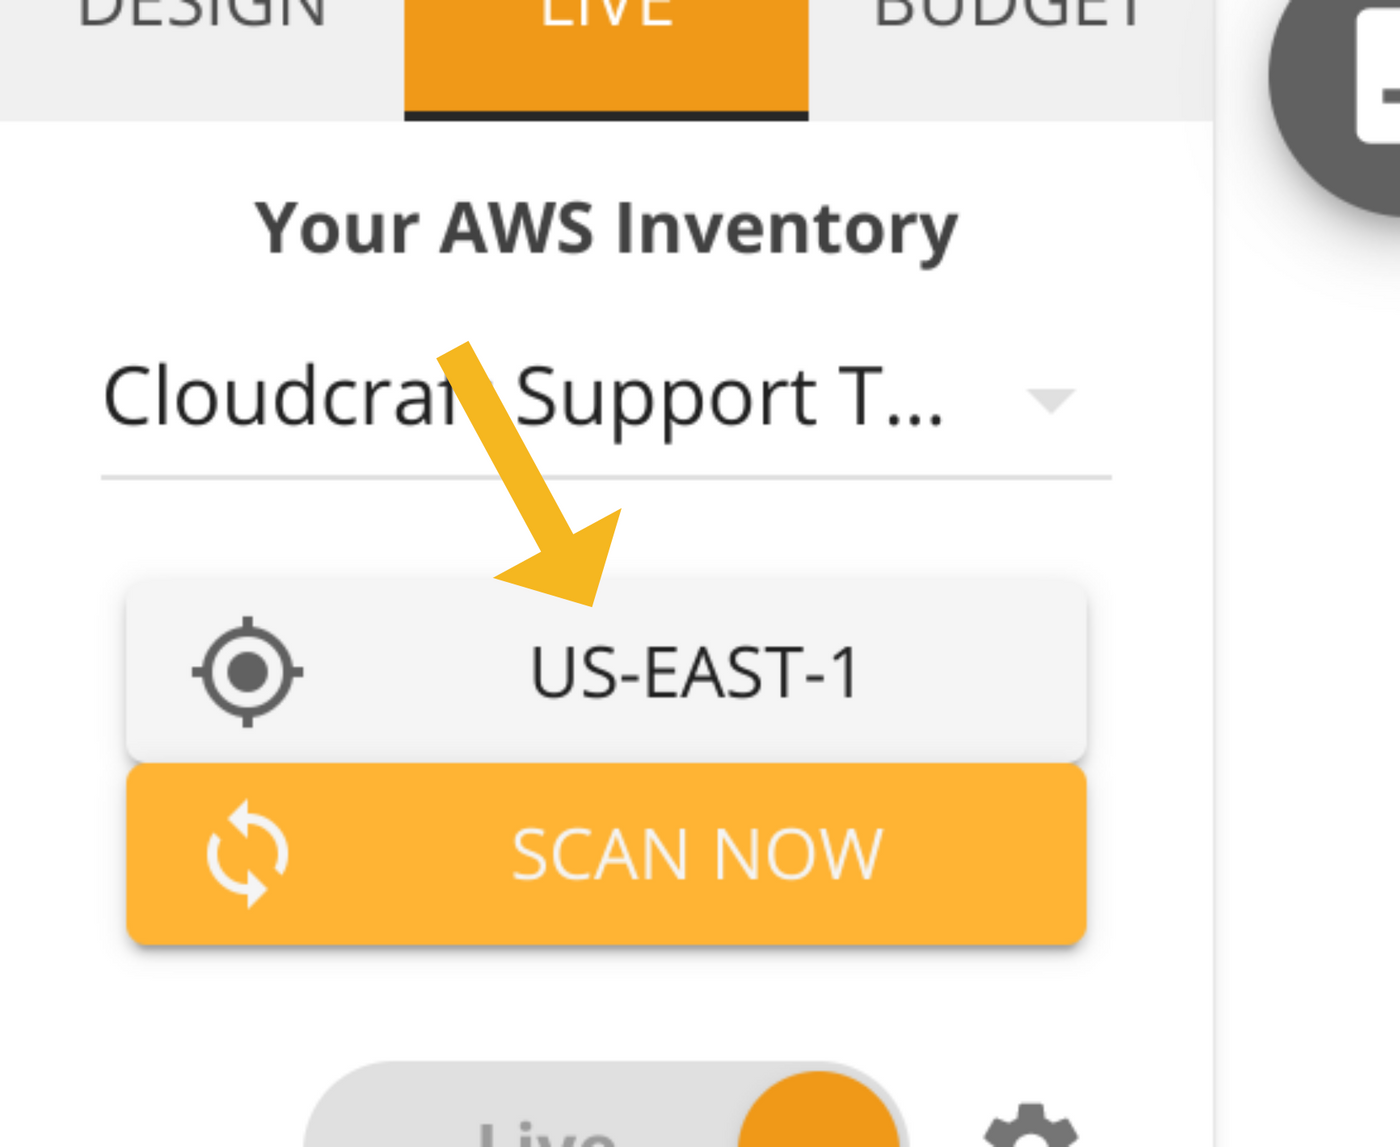
Perfect, we are almost there.
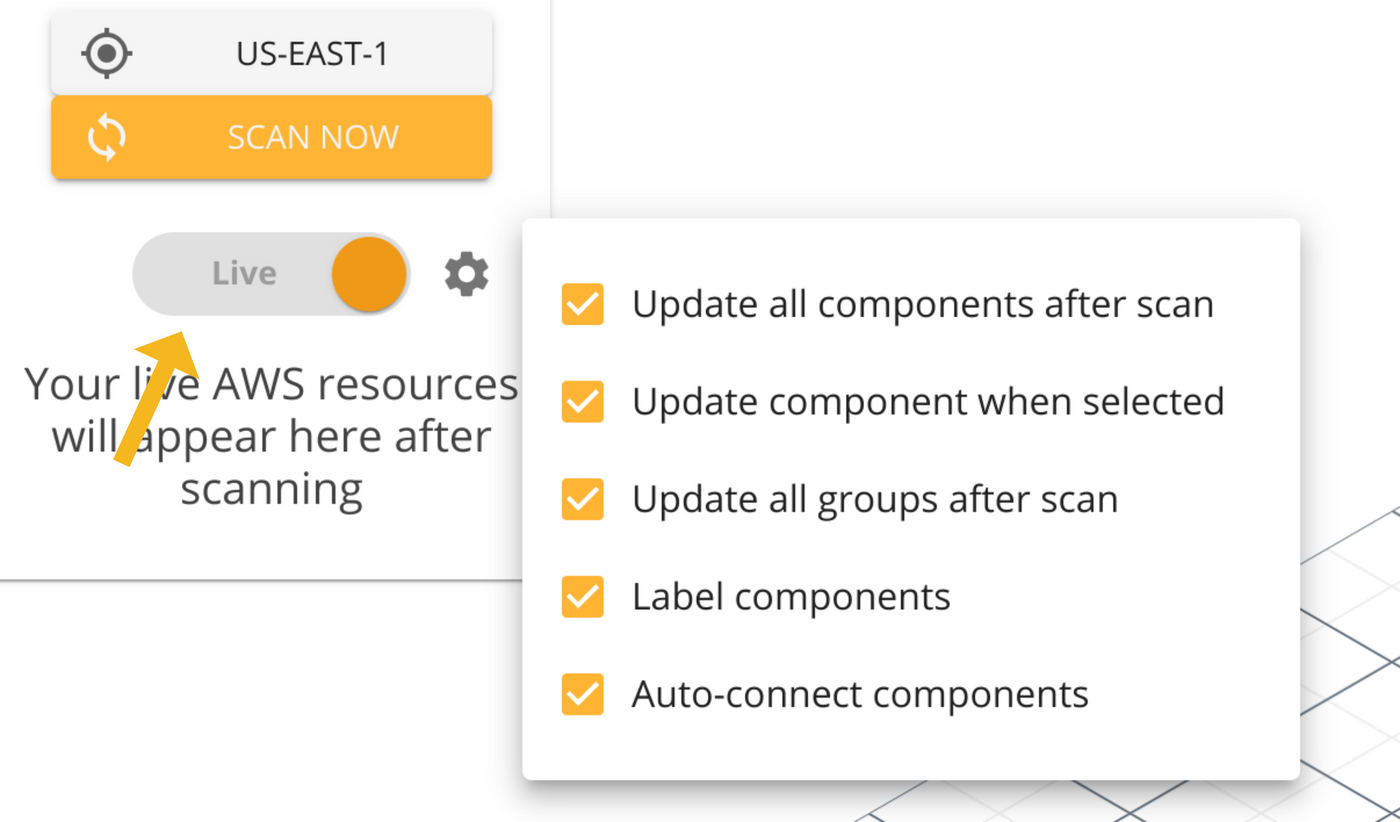
You will notice a toggle that says Live or Snapshot just below the yellow Scan Now button, which tells the application which kind of diagram you want to create. If you select Live, the diagram will constantly update itself with information from your AWS account, while selecting Snapshot will create a point-in-time image, which means the diagram will never update automatically.
For this help article we will focus on the Live version, so go ahead and select that option. The cog icon to the right of the option allows you to further customize how your diagram will be updated, but you can ignore it for now.
Click the yellow Scan Now button and Cloudcraft will start looking for supported AWS components in your account. You should see a Scan complete message when the application finishes.
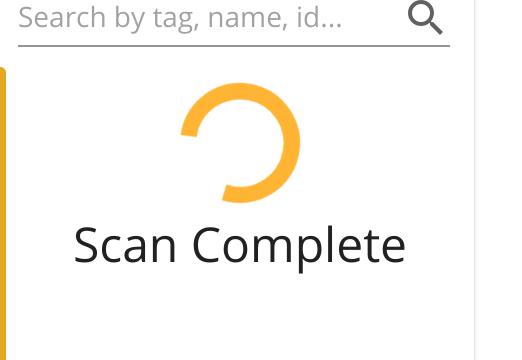
With the scan complete, the Auto Layout button and all the supported components from your AWS account should show up. While you can start adding them manually right away, it is better to let the application layout them automatically for you.
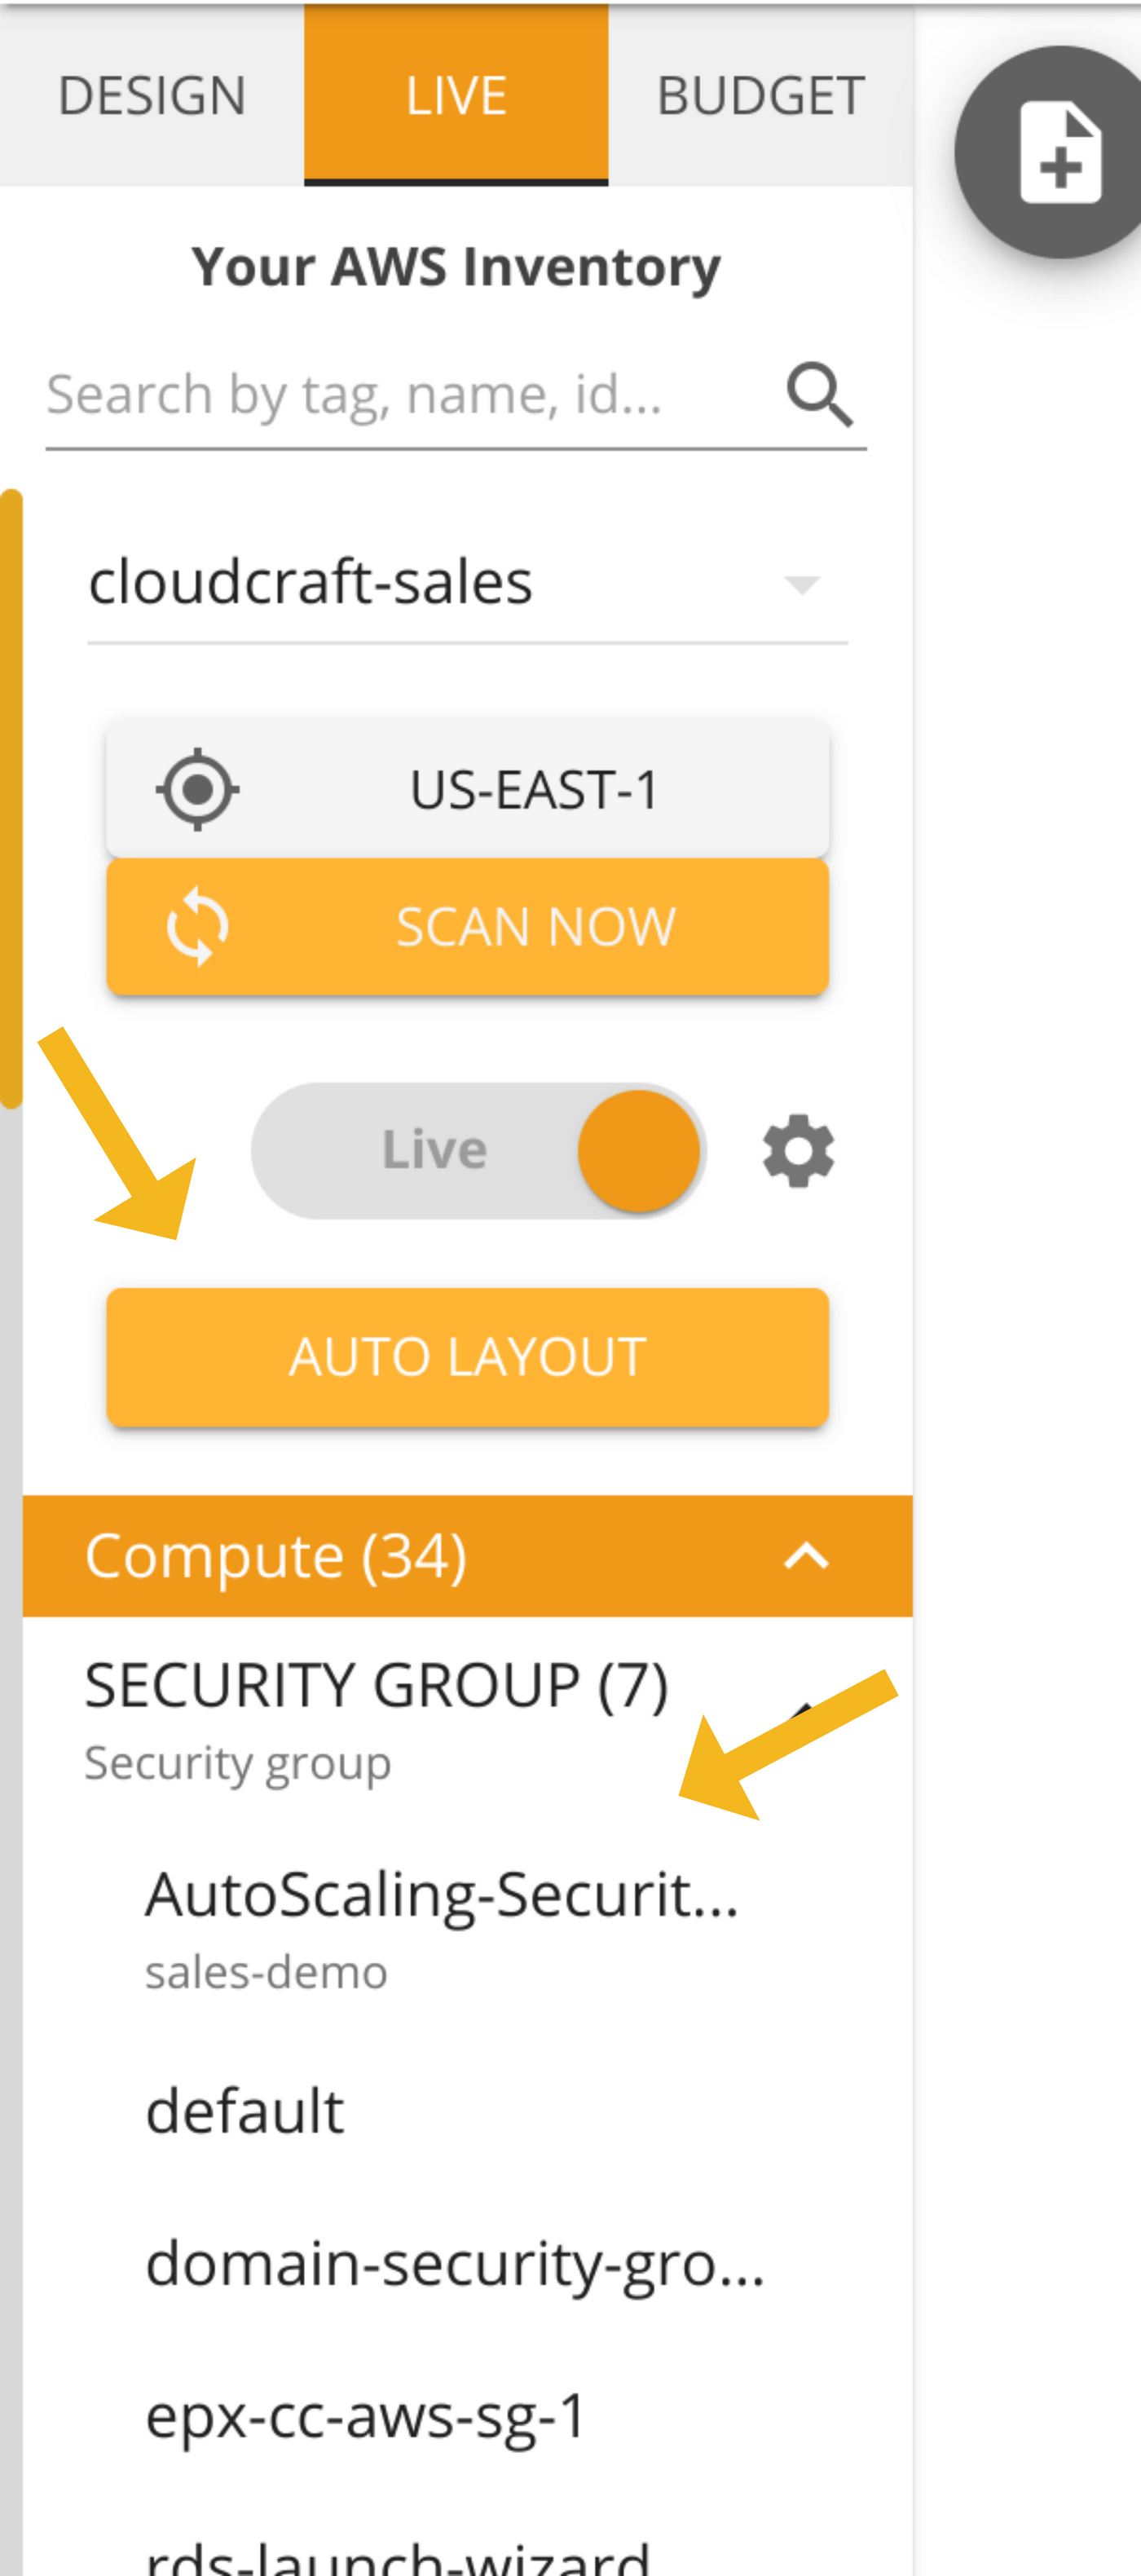
There are two ways to do this:
- Using the Auto Layout feature.
- Using the Filtered Layout feature.
The Auto Layout feature is the simplest one. It will add all the AWS components you want to the diagram, and then display their connections and relationships. You can tell Auto Layout to include only EC2 instances and exclude everything else, for example, and that is exactly what it will do.
Since the diagram type for our example is Live, if you remove one of the EC2 instances from your AWS account, the change will be reflected in your diagram.
The Filtered Layout feature is a more advanced and powerful way to diagram your AWS architecture, as it allows you to create diagrams that match a pattern. For example, if you have many resources tagged with environment=production and environment=staging, but only want components in production to be added to the diagram, you can search for environment=production and only components tagged with this exact combination of value and key would be included.
You can use the power of filters even if you do not tag your components; to create a diagram with only EC2 instances that are powered down, for example, you could use the filter ec2 !running.
To understand the power of Filtered Layout, let us look at our VPN server as an example. In AWS, we tag anything related to the VPN with the key service and the value wirecraft, so if we wanted to see everything related to the VPN and how each component connects to each other, we could use the filter service=wirecraft in the search bar just below the Live tab, like this.
As you can see, the EC2 instance that is tagged with service=wirecraft is shown inside the VPC and security group it is connected to, and the same goes for the EBS volume and internet gateway.
Even though it has the same tags, the S3 bucket is outside the VPC because the AWS API does not show any connection between the bucket and the other components, so neither does Cloudcraft.
How components connect to each other is very service dependent, but we try to use all available AWS APIs to discover relationships wherever possible.
For this help article we will focus on Auto Layout, but feel free to reach out to our support team if you want to learn more about Filtered Layout.
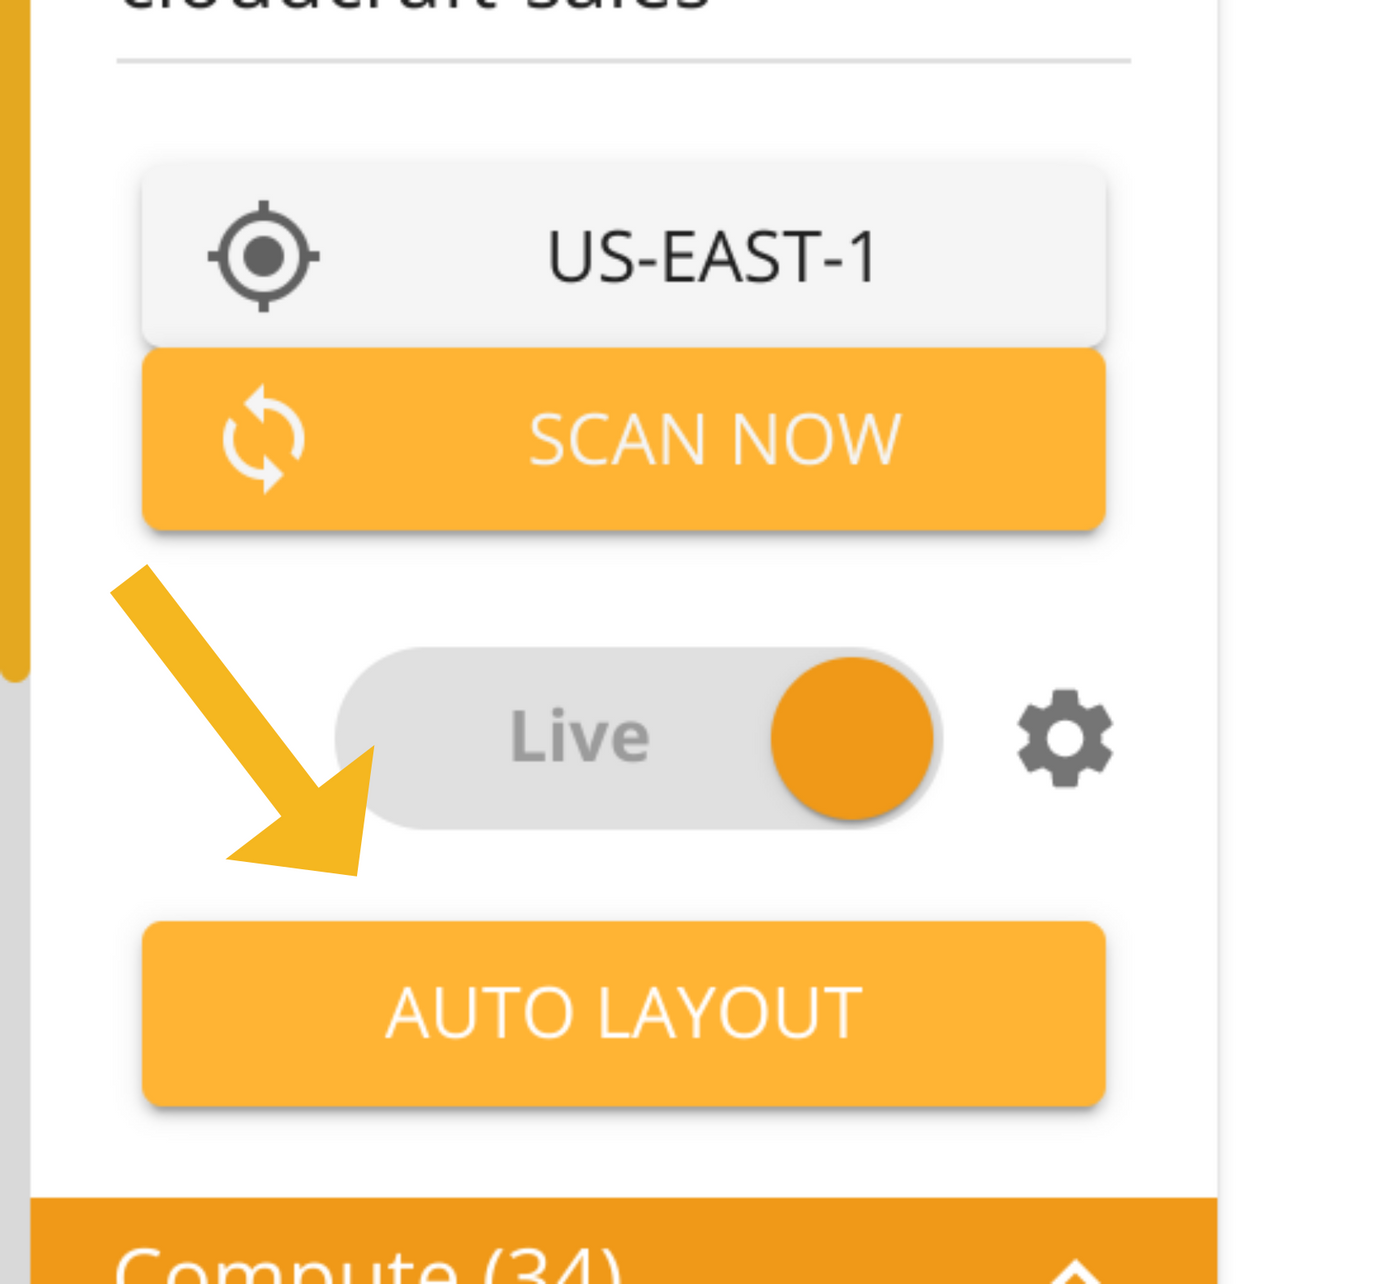
Moving on, click on the yellow Auto Layout button right below the Live/Snapshot toggle.
A new window will appear and allow you to decide which AWS components you want included in your diagram. For this help article we want to include everything, but feel free to play with the options here if you would like.
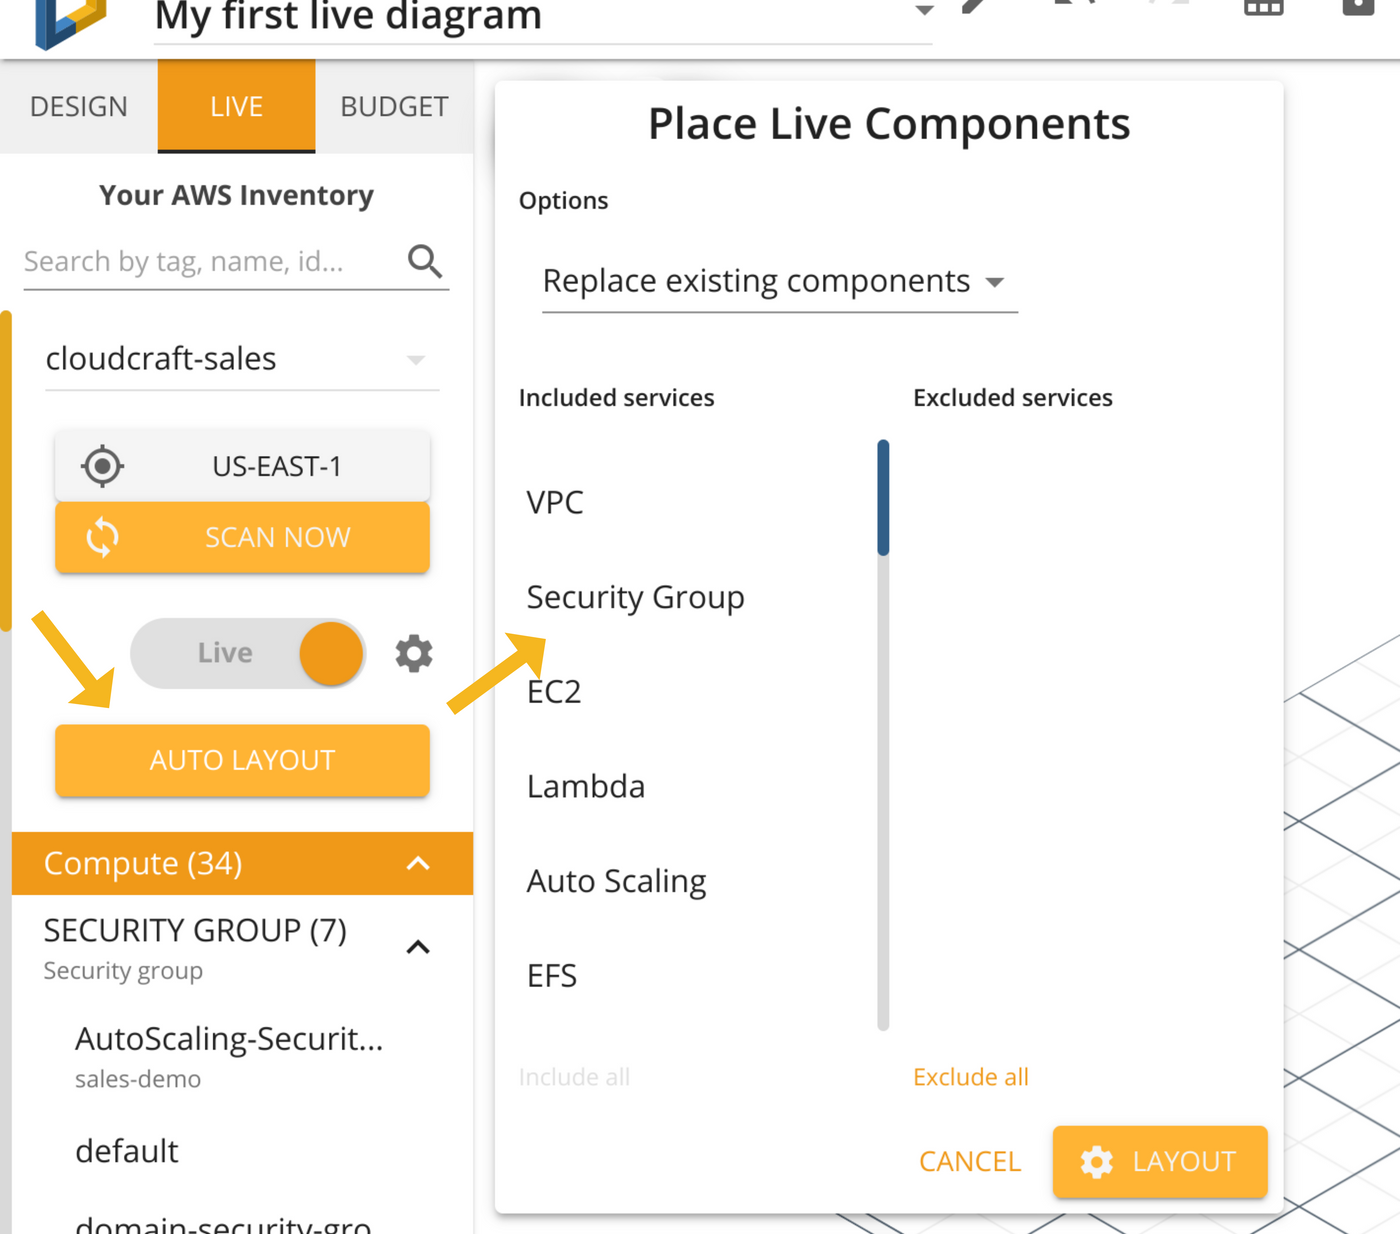
This window also include an Options dropdown where you can choose one of three possible options.
- Replace existing components.
- Include existing components.
- Leave existing components.
These options tell the application what to do if you are using the Auto Layout on a diagram that already has components on it.
- If you select Replace existing components, everything already in the diagram will be replaced with new components.
- If you select Include existing components, the application will perform an automatic layout on all the components in your inventory as well as all the components on the diagram.
- If you select Leave existing components, the components in the diagram will not be altered, but the application will perform an automatic layout for the new components.
Since we are creating a new diagram, choose Replace existing components from the dropdown, and then click the yellow Layout button.
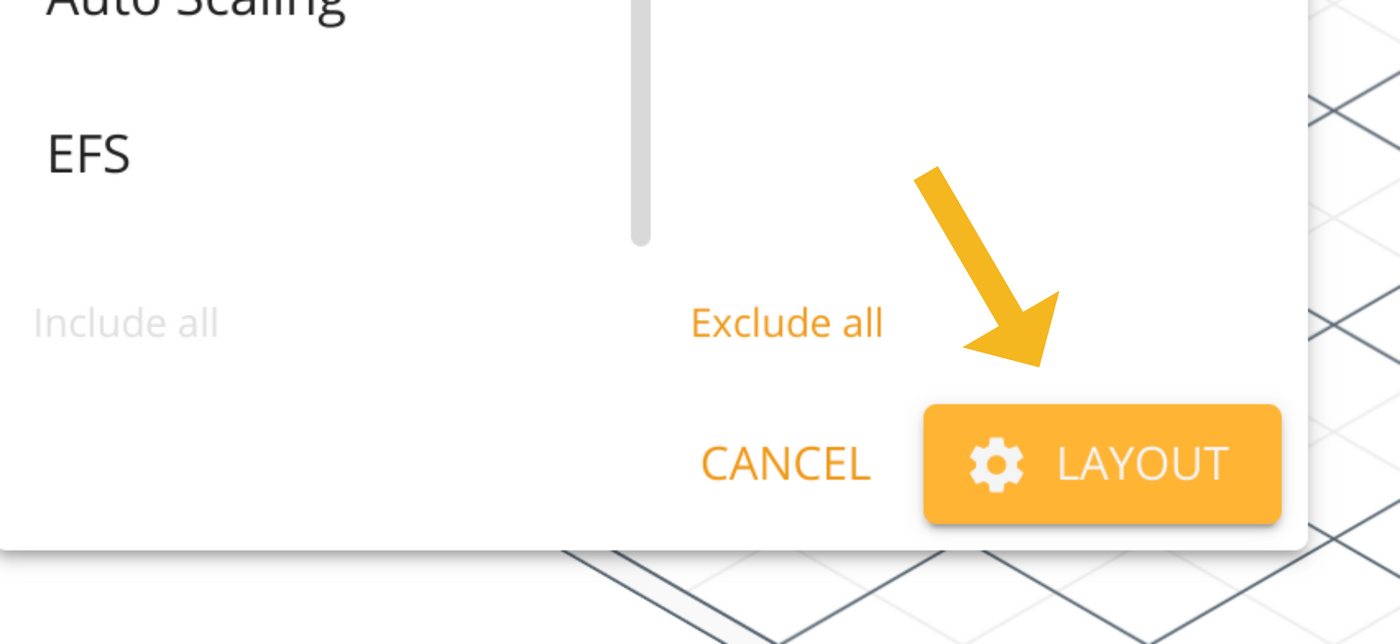
Once you click Layout, all the components in your inventory will be automatically added to your diagram and their connections shown.
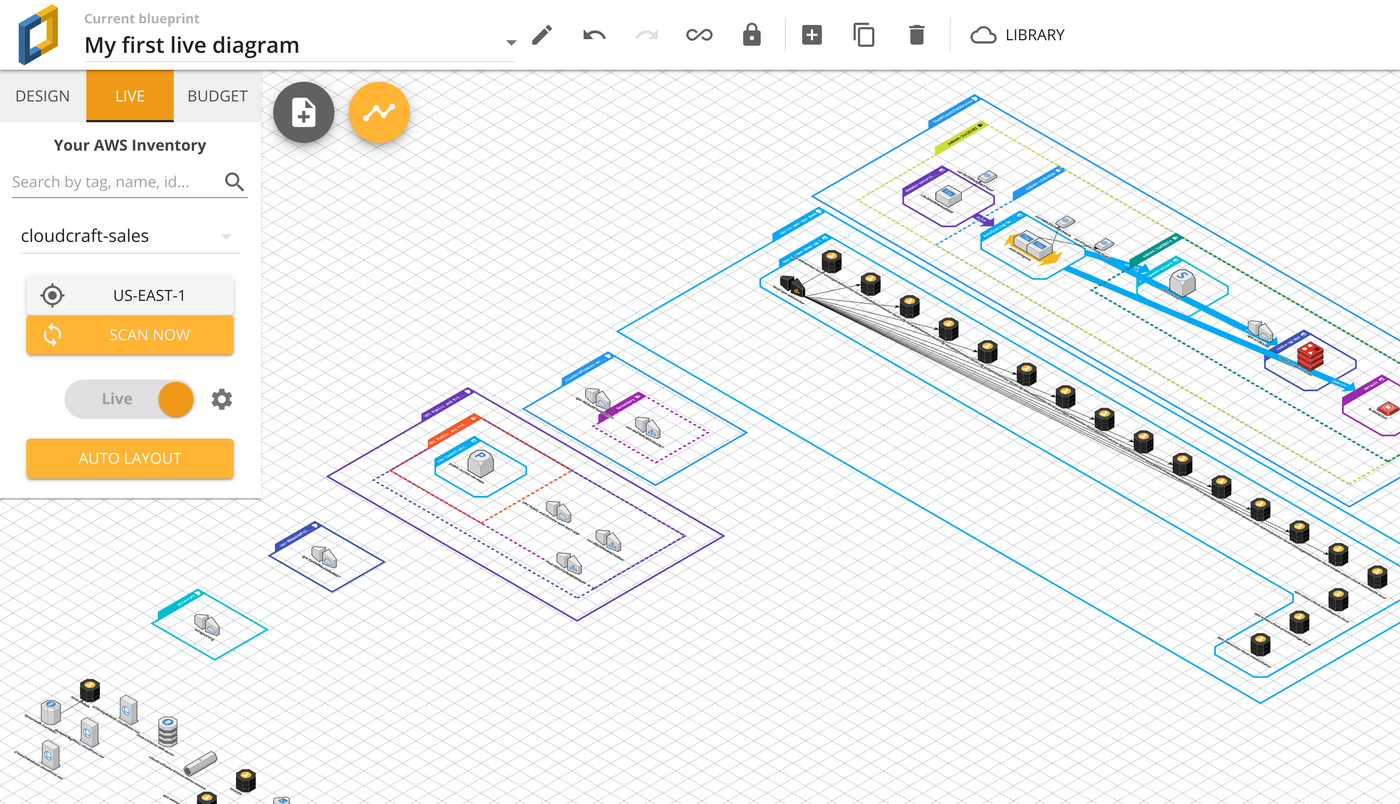
The diagram is completely editable, so you can use items from the Design tab to improve how your diagram look while also being fed real-time information about each component.
If you click in a component like an EC2 instance, for example, the Live Feed pop-up will appear in the bottom-left corner of your screen and show you information about the instance.
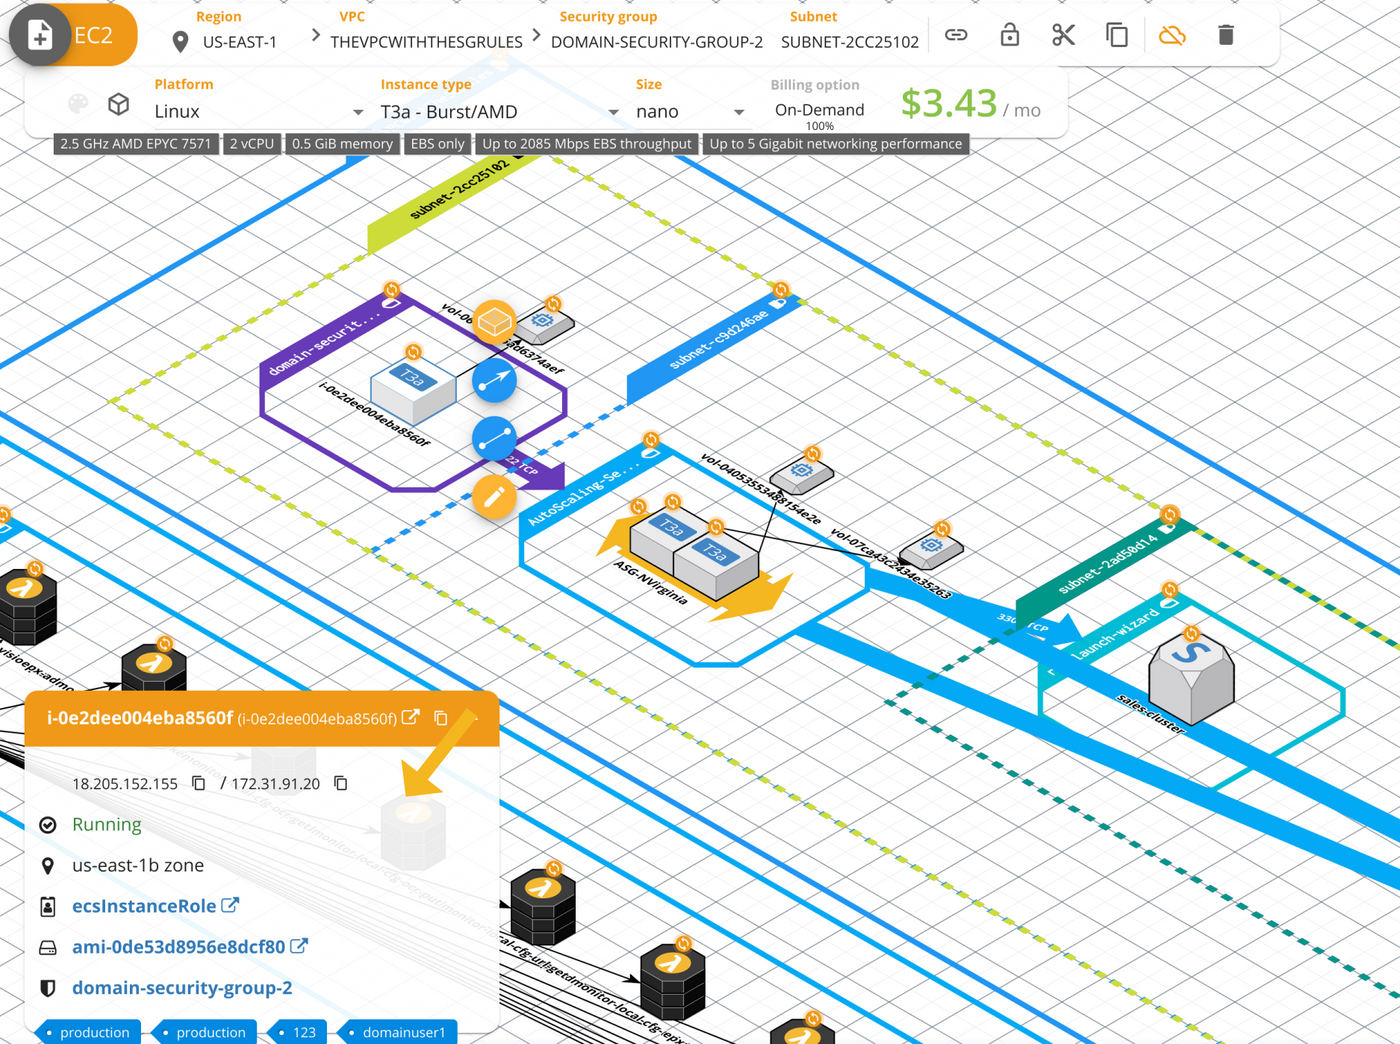
This is just the tip of the iceberg, though, as Cloudcraft allows you to go much further.
If you want to learn about more ways Cloudcraft can help empower your team and get started with the product as fast as possible, you can book an online demo with a member of our team over here.
If you have any questions, reach out to our support team, and they will be happy to help.
