Create a custom IAM policy to use with Cloudcraft
Cloudcraft uses a read-only IAM role to scan your AWS account and reverse-engineer the service relationships between components to autogenerate a diagram of your architecture.
The easiest way to set everything up is to follow the instructions inside the application, which creates the role and sets up the permissions for you in just a few clicks. The role is assigned the AWS-managed ReadOnlyAccess IAM policy by default.
If you need to more precisely control the permissions, for example to exclude certain services or APIs, a custom Cloudcraft IAM policy will allow you to do that.
If you use a custom IAM policy, you must keep it manually updated as new services and features are added to Cloudcraft. If you see a notice in the app of Limited AWS access, try updating your custom IAM policy with the latest version from below.
Creating a custom IAM policy
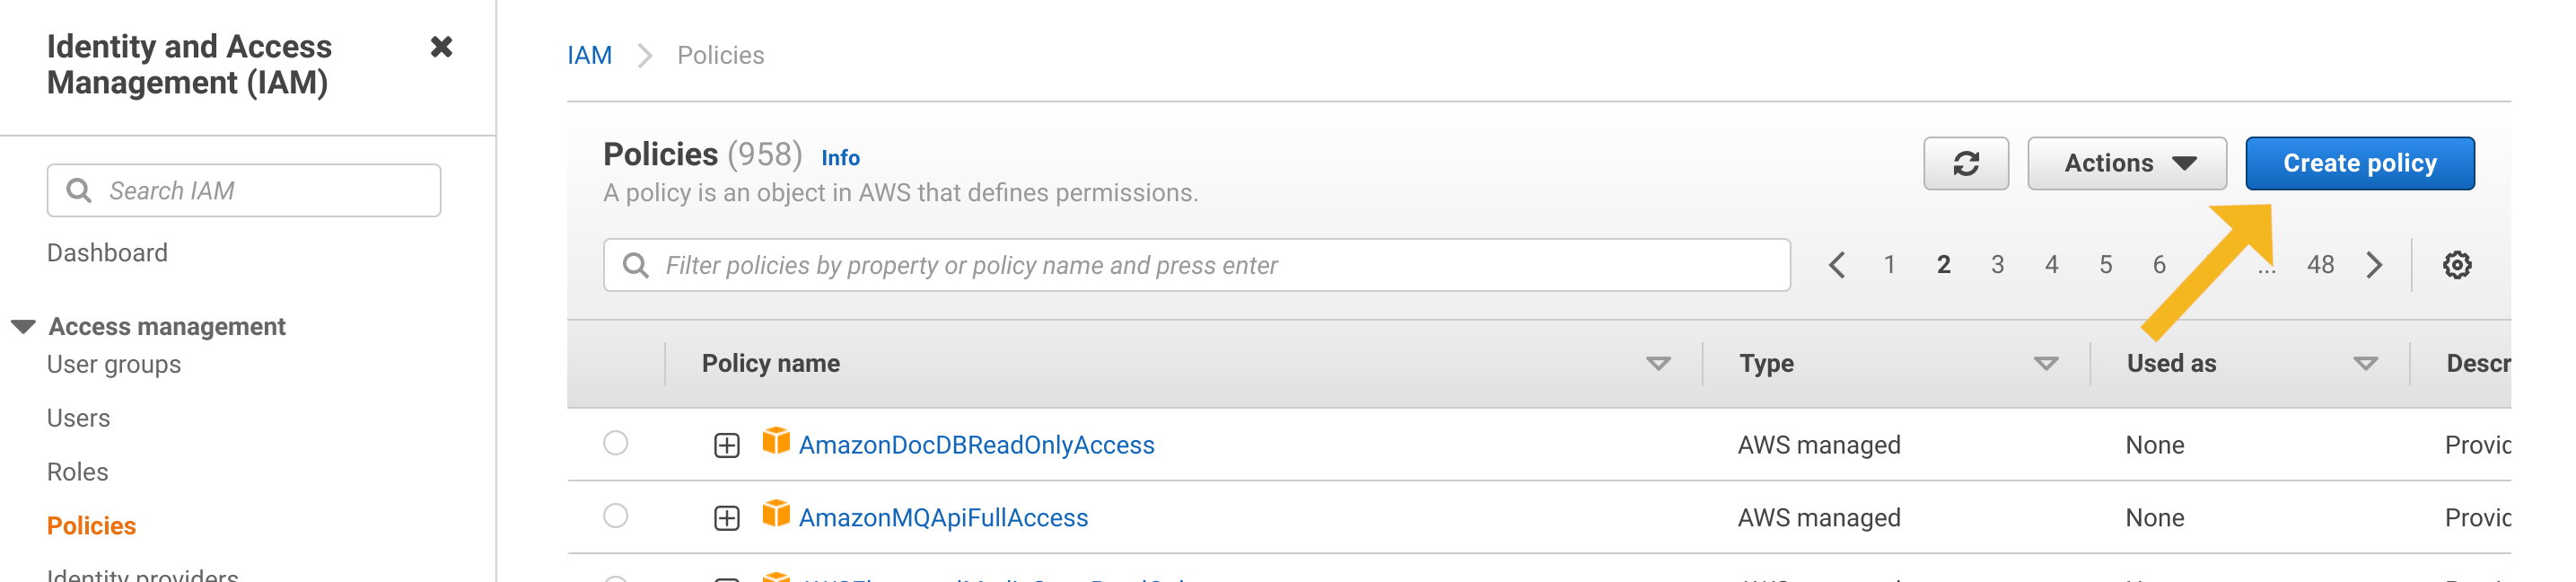
Start by opening the IAM Policies Console and clicking the Create Policy button.
Switch to the JSON tab and copy the content from one the linked policies below:
You can also customize the policy to suit your unique requirements.
- Cloudcraft custom IAM policy: This policy is more strict than the default
ReadOnlyAccess policy. The policy only includes the individual services and read-only permissions that Cloudcraft uses. The policy will typically need to be updated when Cloudcraft adds support for entirely new services. - Cloudcraft minimal IAM policy: This is the strictest form of policy. The policy lists each individual read-only permission for full Cloudcraft functionality. This policy needs to be updated more frequently, both when support for new services are added and when existing services are improved.
- You may use either of the policies above as a base for your own customizations. For example, individual services or permissions can be removed. If a service cannot be accessed by Cloudcraft, the service will be excluded from the resulting diagram.
Click the Review policy button at the bottom of the screen, and then enter a name and description. Cloudcraft recommends using the following values to keep things organized and easier to audit.
- Policy Name: Cloudcraft
- Policy Description: Custom policy for Cloudcraft.
Next, click Create policy to create the policy. The AWS console redirects you back to the policies page.
Finally, attach the newly created policy to the Cloudcraft IAM role. If you didn’t create the role yet, follow the instructions in the application.